


Description

If you want the Ultra version, get the 4.3 inch screen and run Steve Nofs Ultra update. Note that we sell this kit for less than the “official” 4.3 inch kit once you factor in shipping cost and the junk “payment processing” fees that they require.
The matter-replicator kit is the only kit that honors the official open-source software license.
Shipping time: We are currently taking orders, but kits or PCBs ordered in July probably will not ship until sometime in Aug.
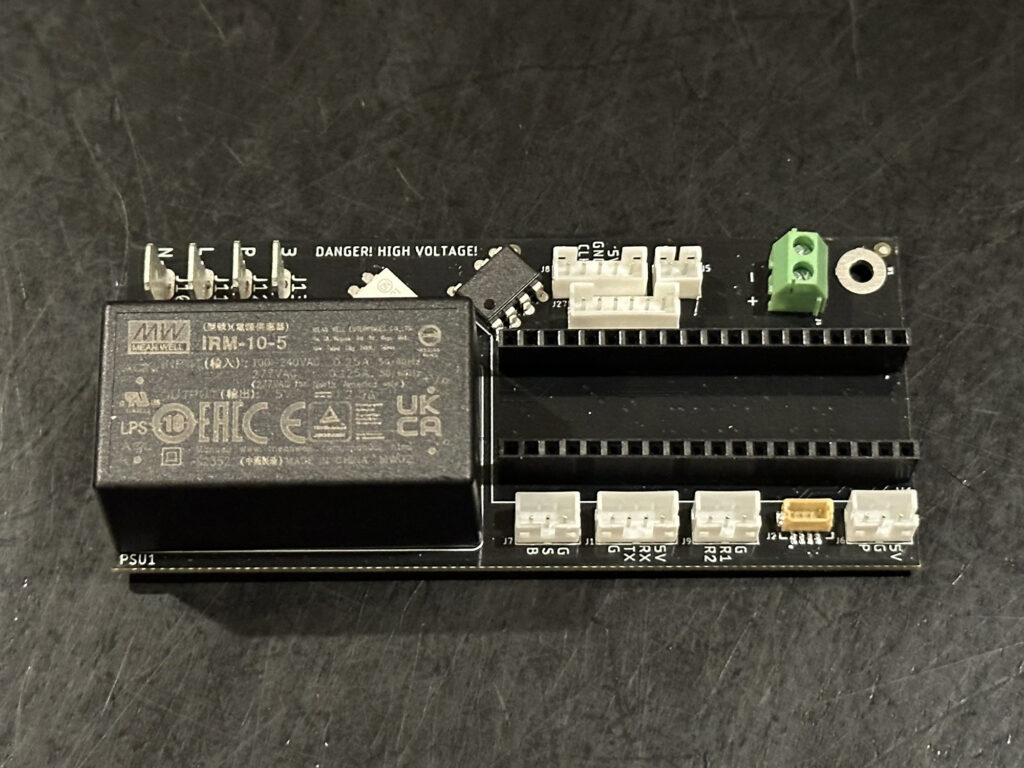
The PCB will come with a socket already soldered for the Blackpill. Also, an assortment of solderless connectors are included for wiring. However, the STM32 Blackpill board will need the pin strips soldered to it.
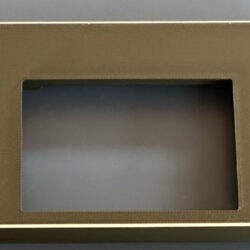
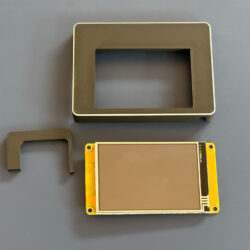
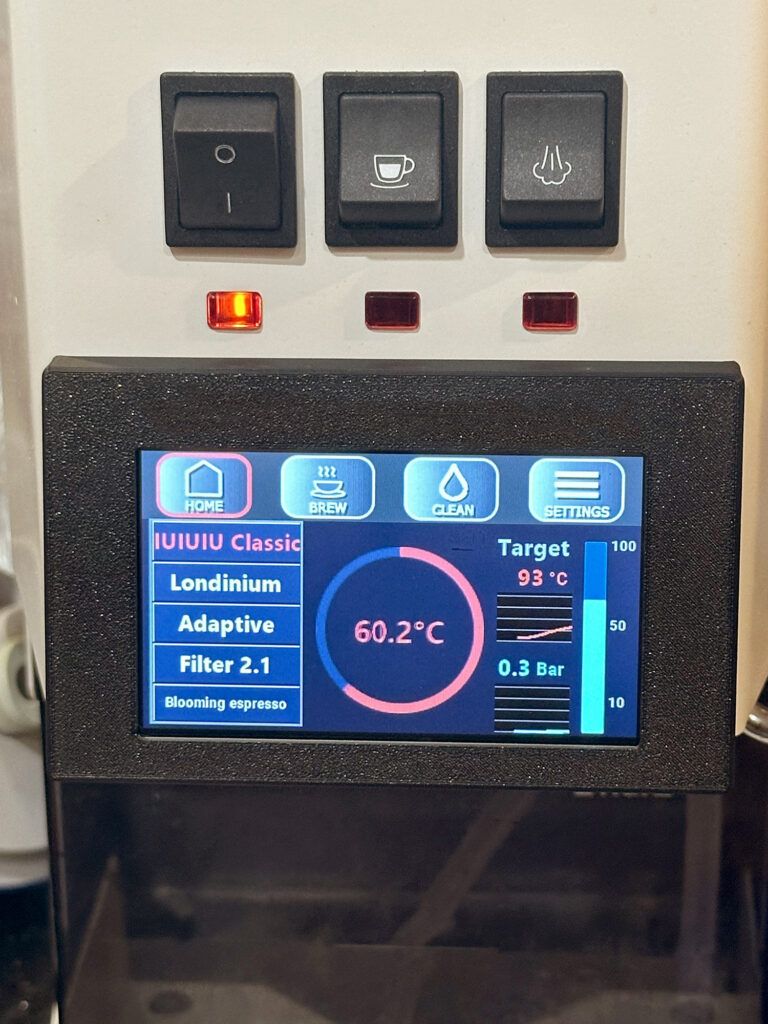
This deluxe kit comes with many upgrades from the official kit, such as a 3D printed front-mounted magnetic display housing that results in a nicer look, 3D printed magnetic PCB housing, a larger screen, real Oetiker-brand clamps, and additional parts. Also, we use genuine orange Gaggia SACCO pressure hose, not the improvised hardware-store or Chinese kind that comes with the other kit. We use real Nextion-branded displays – not the low-cost Chinese-market version.
If you have an EU model that turns off after 15 minutes, you have to look into additional steps to bypass that Eco board. You can ask on the Gaggiuino Builders Facebook group.
Steve made this video explaining how to make it work on a 3.5 inch:
Note: This kit is just a bunch of parts and has no instructions. You should research this open-source project first and decide if it is within your capabilities because you need to be able to figure things out as you go along. There is a Gaggiuino Builders Facebook group where you can ask people for help. Also, you can use my build-videos to help with assembly, but always use the official schematic for making final wiring decisions.
You can find the official wiring schematics on the repository.
Shipped from the USA.
Continue reading below for what is included and what is not included.
See video about this here:
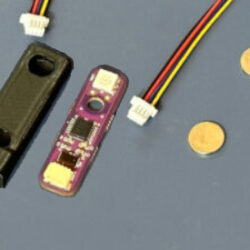
You might also want a ToFNLED Water lever sensor:
ToFnLED Water Level Sensor – Matter-Replicator
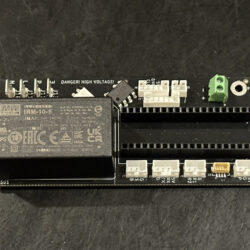
Warning: Some of these parts connect to high-voltage power. You should not attempt assembly without experience working safely with electricity. This means unplug everything from power before touching it. You assume all risk by assembling this and release the sellers from any liability.
Note that the 4.3″ LCD cannot be used to calibrate hardware scales though it works with the scales once calibrated. This doesn’t matter for nearly all users, but if you do end up wanting hardware scales, you may need to borrow a smaller LCD from someone.
The 3.5 and 4.3 uses Steve’s code as mentioned above and is available from his github.
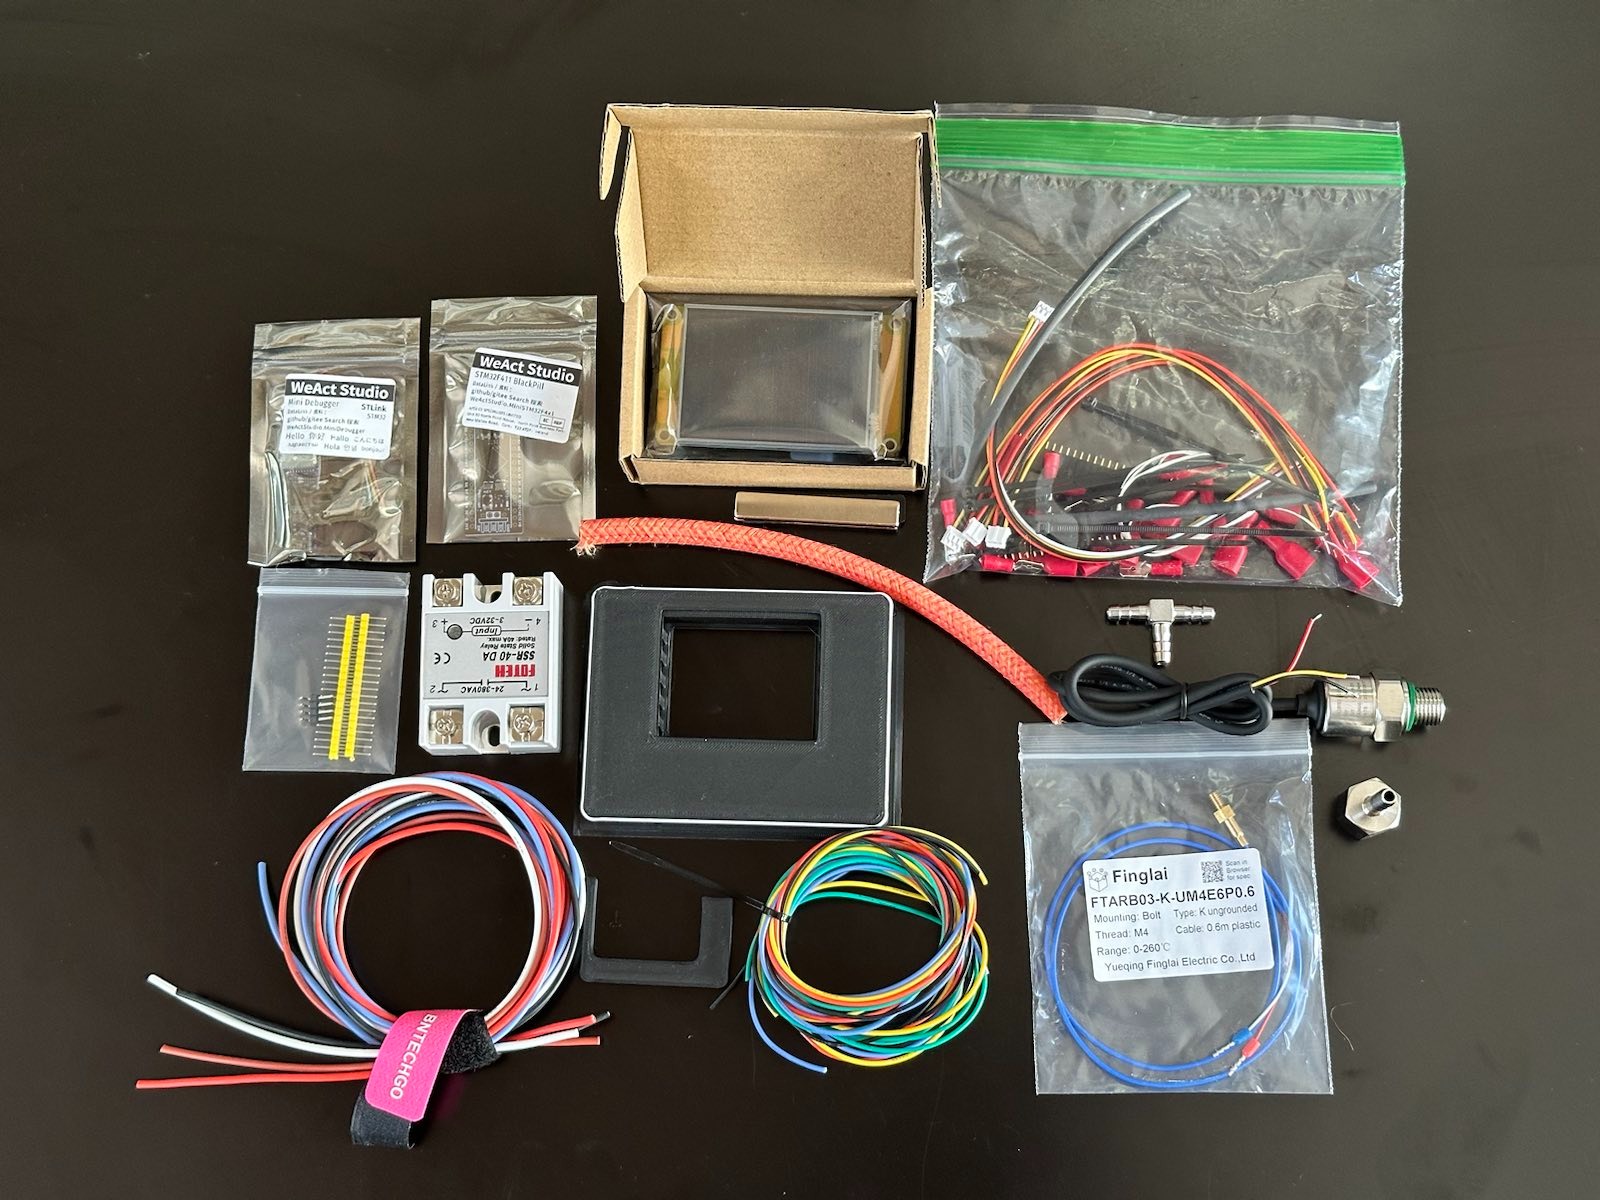
This kit includes some things that are not in the official BOM.
Kit includes:
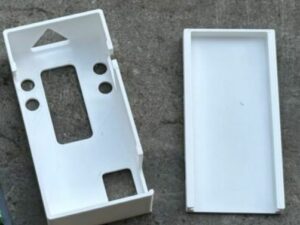
- 3D printed front display housing
- 3D printed PCB enclosure
- Qty 1 V3 PCB
- Qty 2 single-row header pins (as a socket for the STM32)
- Qty 4 Piggyback Female Spade Connectors (more than needed)
Qty 1 304 Stainless-steel 6mm Barb Tee (Classic Pro) or 6mm push connect (Classic)
Qty 1 304 Stainless-steel 1/4 inch socket (Classic Pro) or PEmm (Classic)
Qty 1 G1/4 pressure sensor 1.2Mpa
Qty ~8 Red Male Terminals (more than needed)
Qty ~12 Red Female Terminals (more than needed)
Qty 1 JST 4P
Qty 3 JST 3P
~1.0 meters of 18 AWG Silicon wire in three colors
~1.0 meters of 26 AWG Silicon wire in five colors
Qty 1 40A SSR
Qty 1 M4 temperature sensor
Qty 1 genuine 3.5 or 4.3 inch Nextion Display (This is for front mounting, not top mounting)
Qty 1 STLink STM32 Debugger interface
Qty 1 STM32F411CEU6 Blackpill
Qty 2 60x10x3mm bar magnets (to mount the display to the front)
Qty 1 Genuine Saeco factory tubing piece, (Classic Pro) or PTFE tubing (Classic)
Qty 1 Silicon O-ring
Some ~2.5mm Heat-shrink tubing - Qty 12 wire nuts
Some Cable Ties - Qty 4 Genuine Oetiker stainless-steel chinch clamps, size 16700004.
- Includes Locktite 55 thread sealant again. Theoretically the o-ring is not needed if you use this Locktite, but use your own judgement.
What you will still need:
A crimp tool for the wire terminals.
Wire strippers, screwdrivers, and other small tools.
Solder Iron, etc – but just to put the pins on the Blackpill. The PCB itself is fully pre-soldered.
Glue for the magnets as double-stick tape is not good enough. Superglue or Epoxy is ideal.
The Pro kit has Oetiker clamps, and ideally you should use an Oetiker or PEX chinch pliers to close them. I have tried it with regular pliers, and it worked, but the proper tool is the correct method.
Your country may charge you import duty or taxes/fees. We do not know what each country charges, and you are responsible for any fees charged on import.
The Gaggiuino logo and name is © Zer0-bit. This site is not affiliated with the creators of the project. This kit is not a consumer product. It is for research purposes. No refunds. Not guaranteed to provide any function. If you received the wrong or missing parts, you must notify me within 14 days of delivery.